

Setting up a Klaviyo post-purchase review flow (Less design restrictions)
When to use an item-count flow
If you want more flexibility in your email design (and want to avoid building a dynamic product table), create separate review-request emails based on how many items were purchased. The tradeoff is that you’ll build more Trigger split steps in the flow.
Watch the video: https://www.loom.com/share/6350d528b96b4aebad11a0eba25538cd?sid=b52c5a0f-7a54-4222-b089-8b5a7fae4534
Most teams cap this approach at 3 items. Asking for more than 3 reviews in one message can make the email very long and reduce completion rates.
1) Start a new flow
In Klaviyo, go to Flows and select Create Flow.
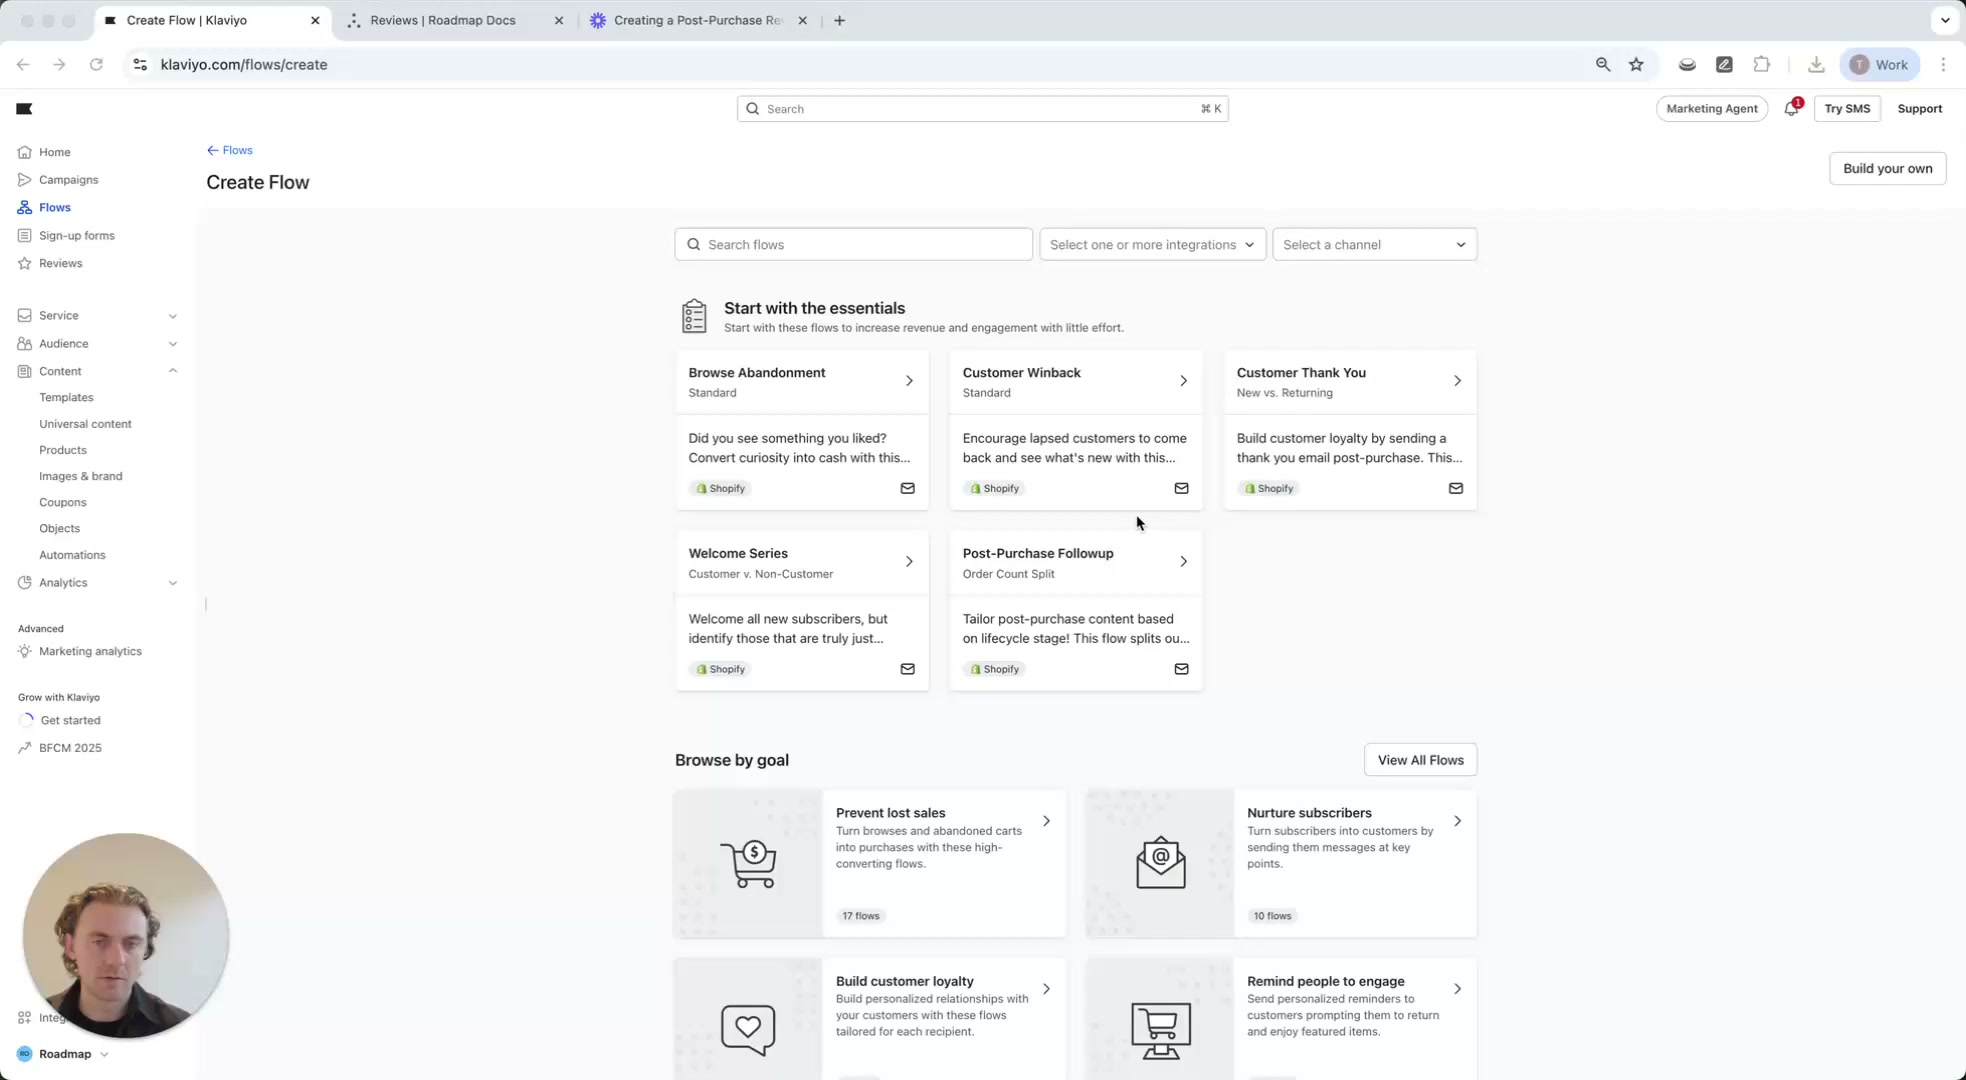
Select Build your own (manual setup), then give the flow a clear name (example used in the walkthrough: Post Purchase Review Flow Item Count Example).
2) Set the trigger (Placed Order)
In the flow canvas, click the Trigger card. In the right panel (Select a trigger), open Your metrics and choose Placed Order from your ecommerce integration (for example, Shopify).
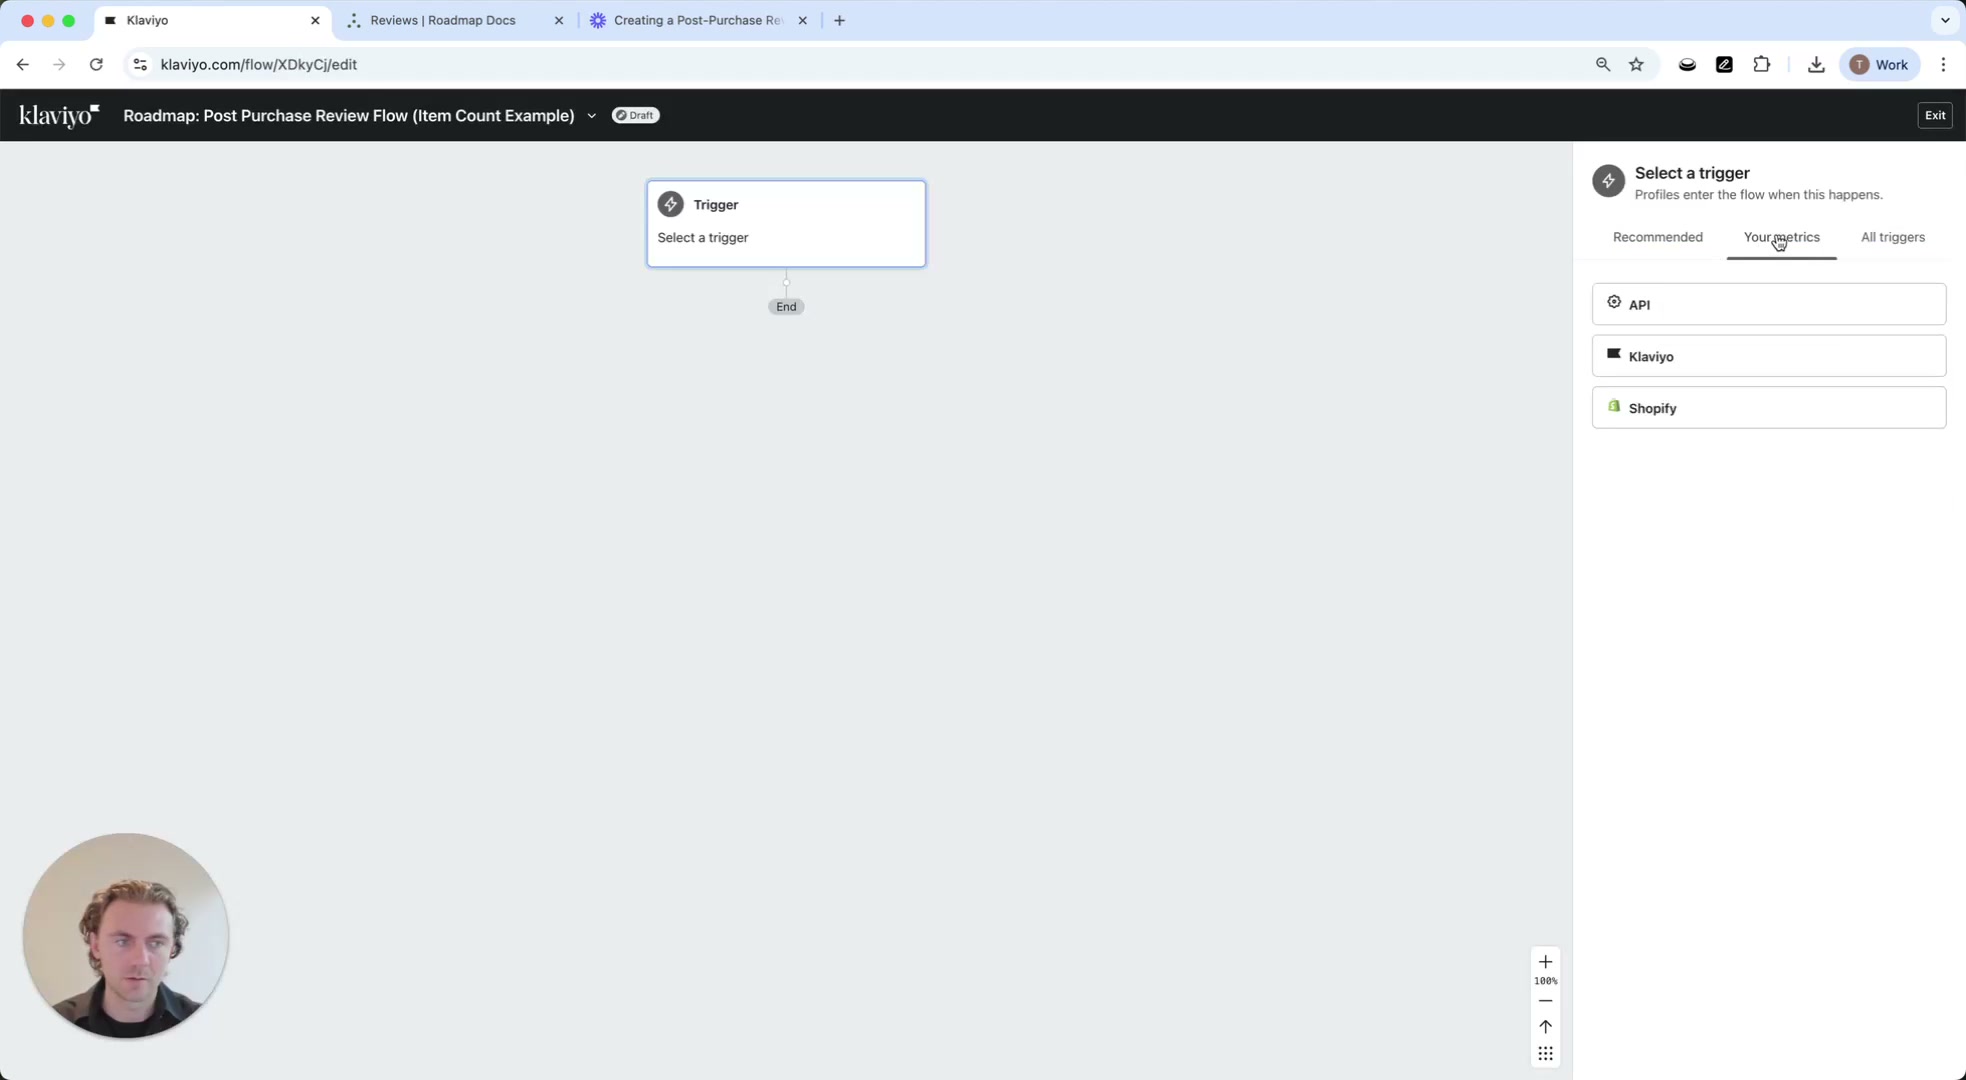
Once selected, the trigger card updates to When someone Placed Order.
The walkthrough mentions optional trigger filters. Use trigger filters if you need to limit who enters the flow (for example, specific customer types). If you don’t need them, you can leave the trigger unfiltered.
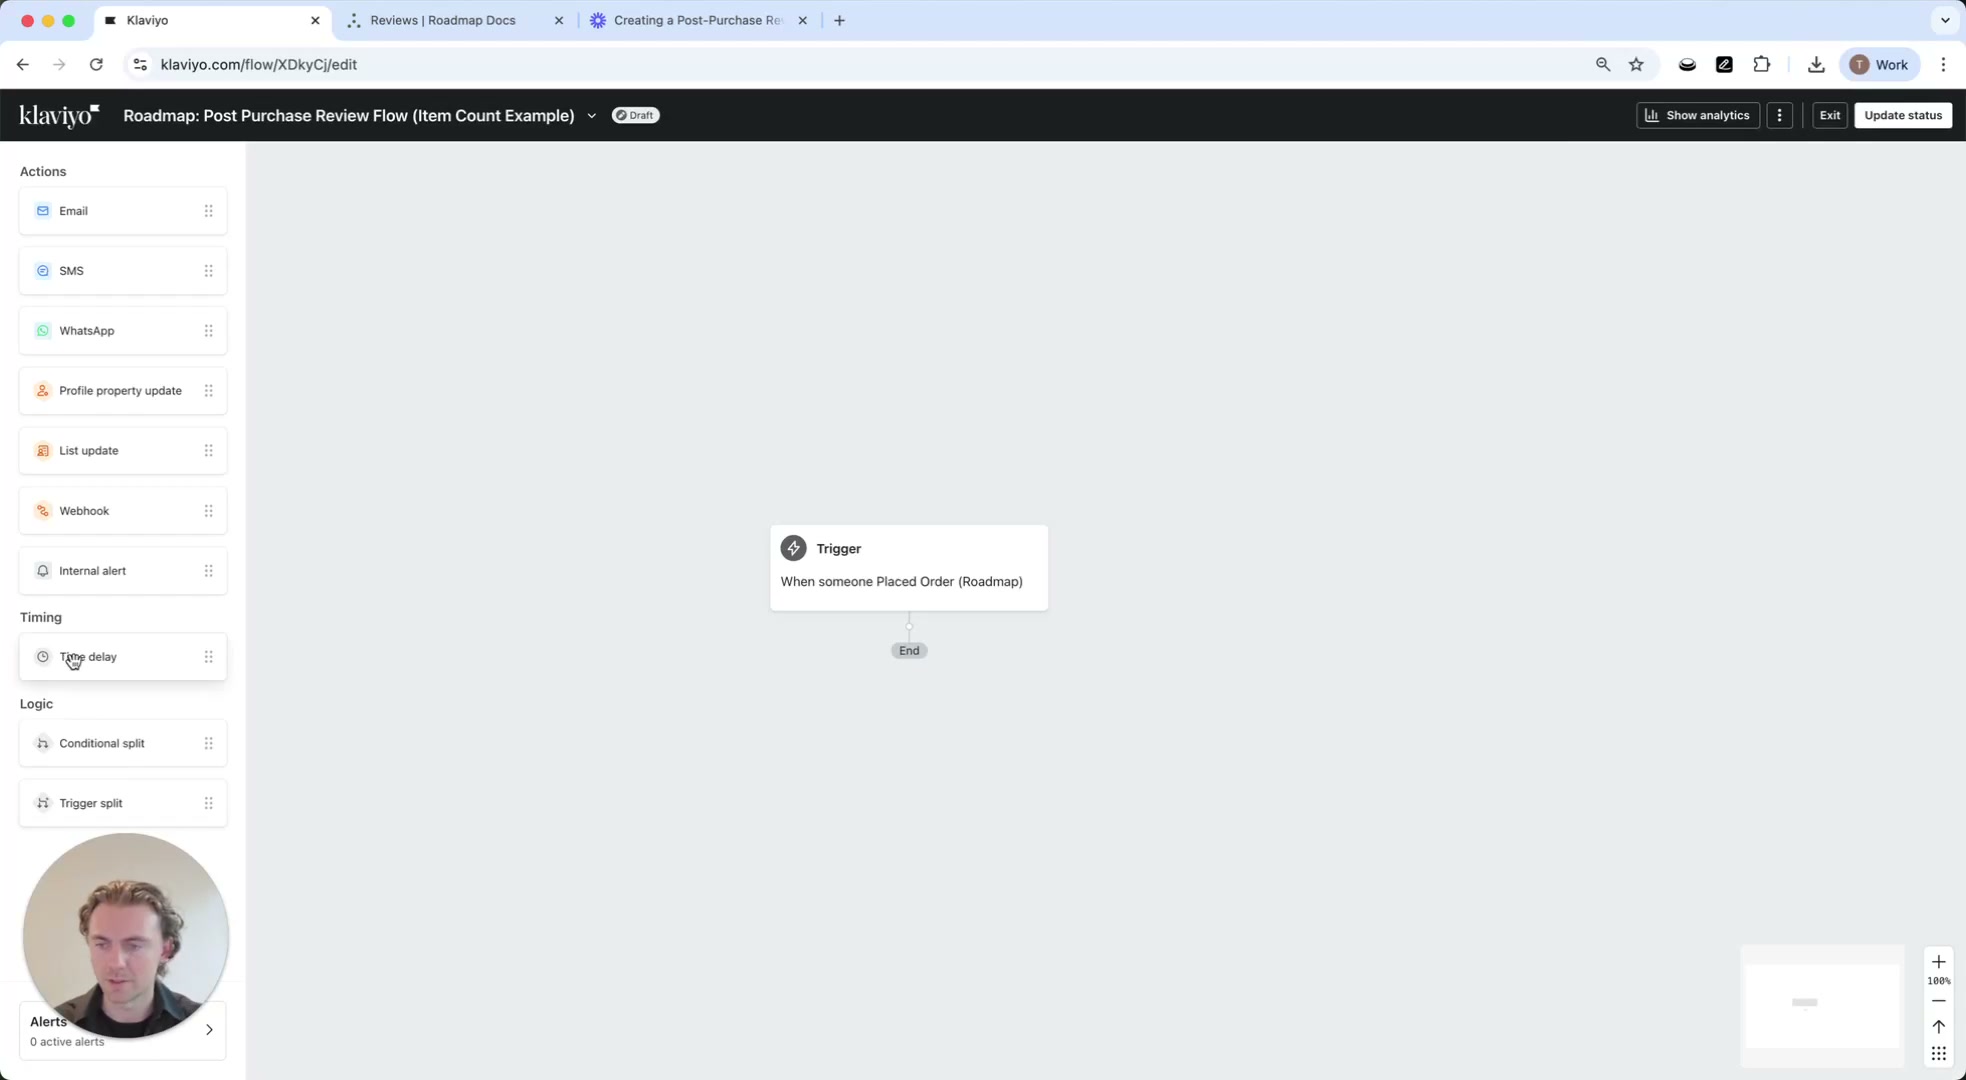
3) Add a delivery delay (recommended)
Add a wait period so customers have time to receive the product before being asked for a review.
From the left sidebar, under Timing, drag Time delay below the trigger.
In Time delay details, set Set time delay to 14 Days (the most common setup shown in the walkthrough).
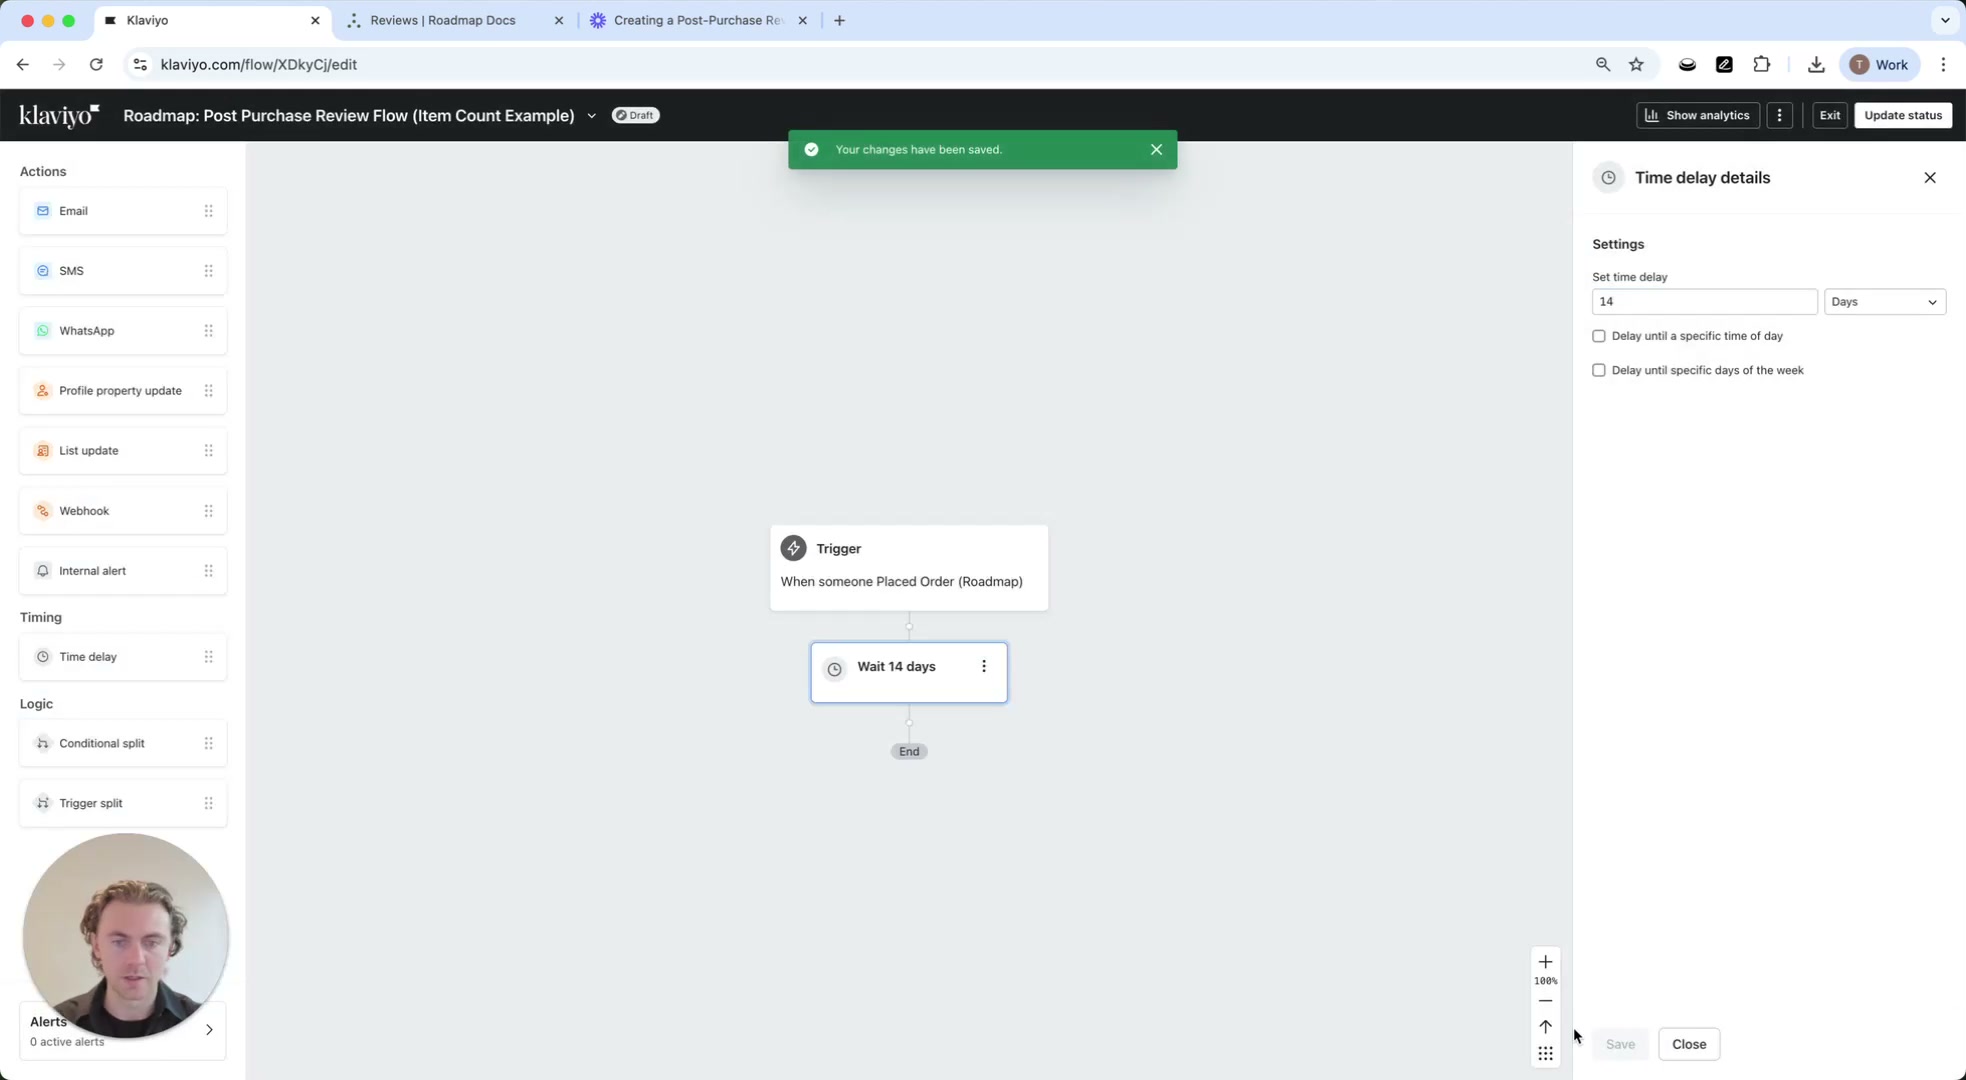
If you’re unsure, start with 7–14 days. The walkthrough recommends at least 7 days so customers can try the product and leave an honest review.
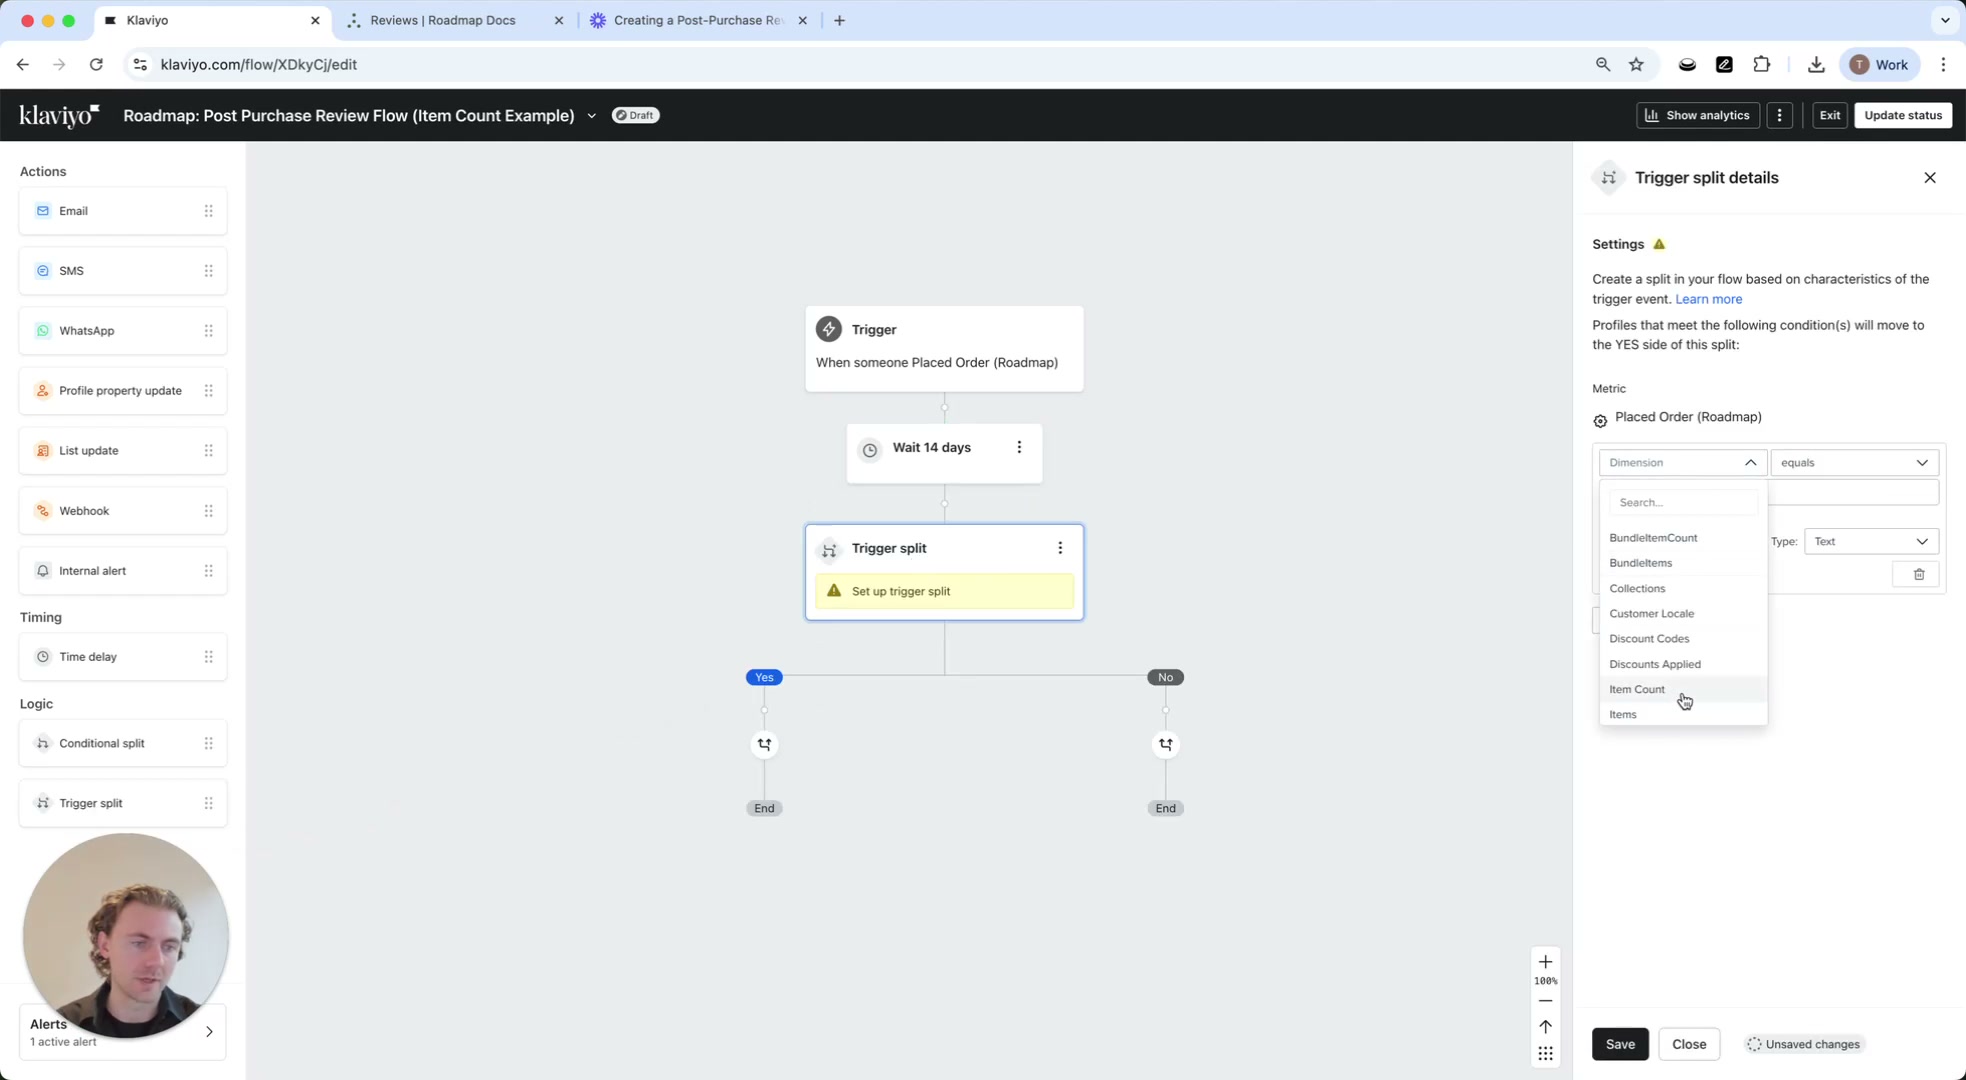
4) Split the flow by item count (1, 2, 3+)
Next, build a set of Trigger split steps so each branch receives an email designed specifically for the number of items purchased.
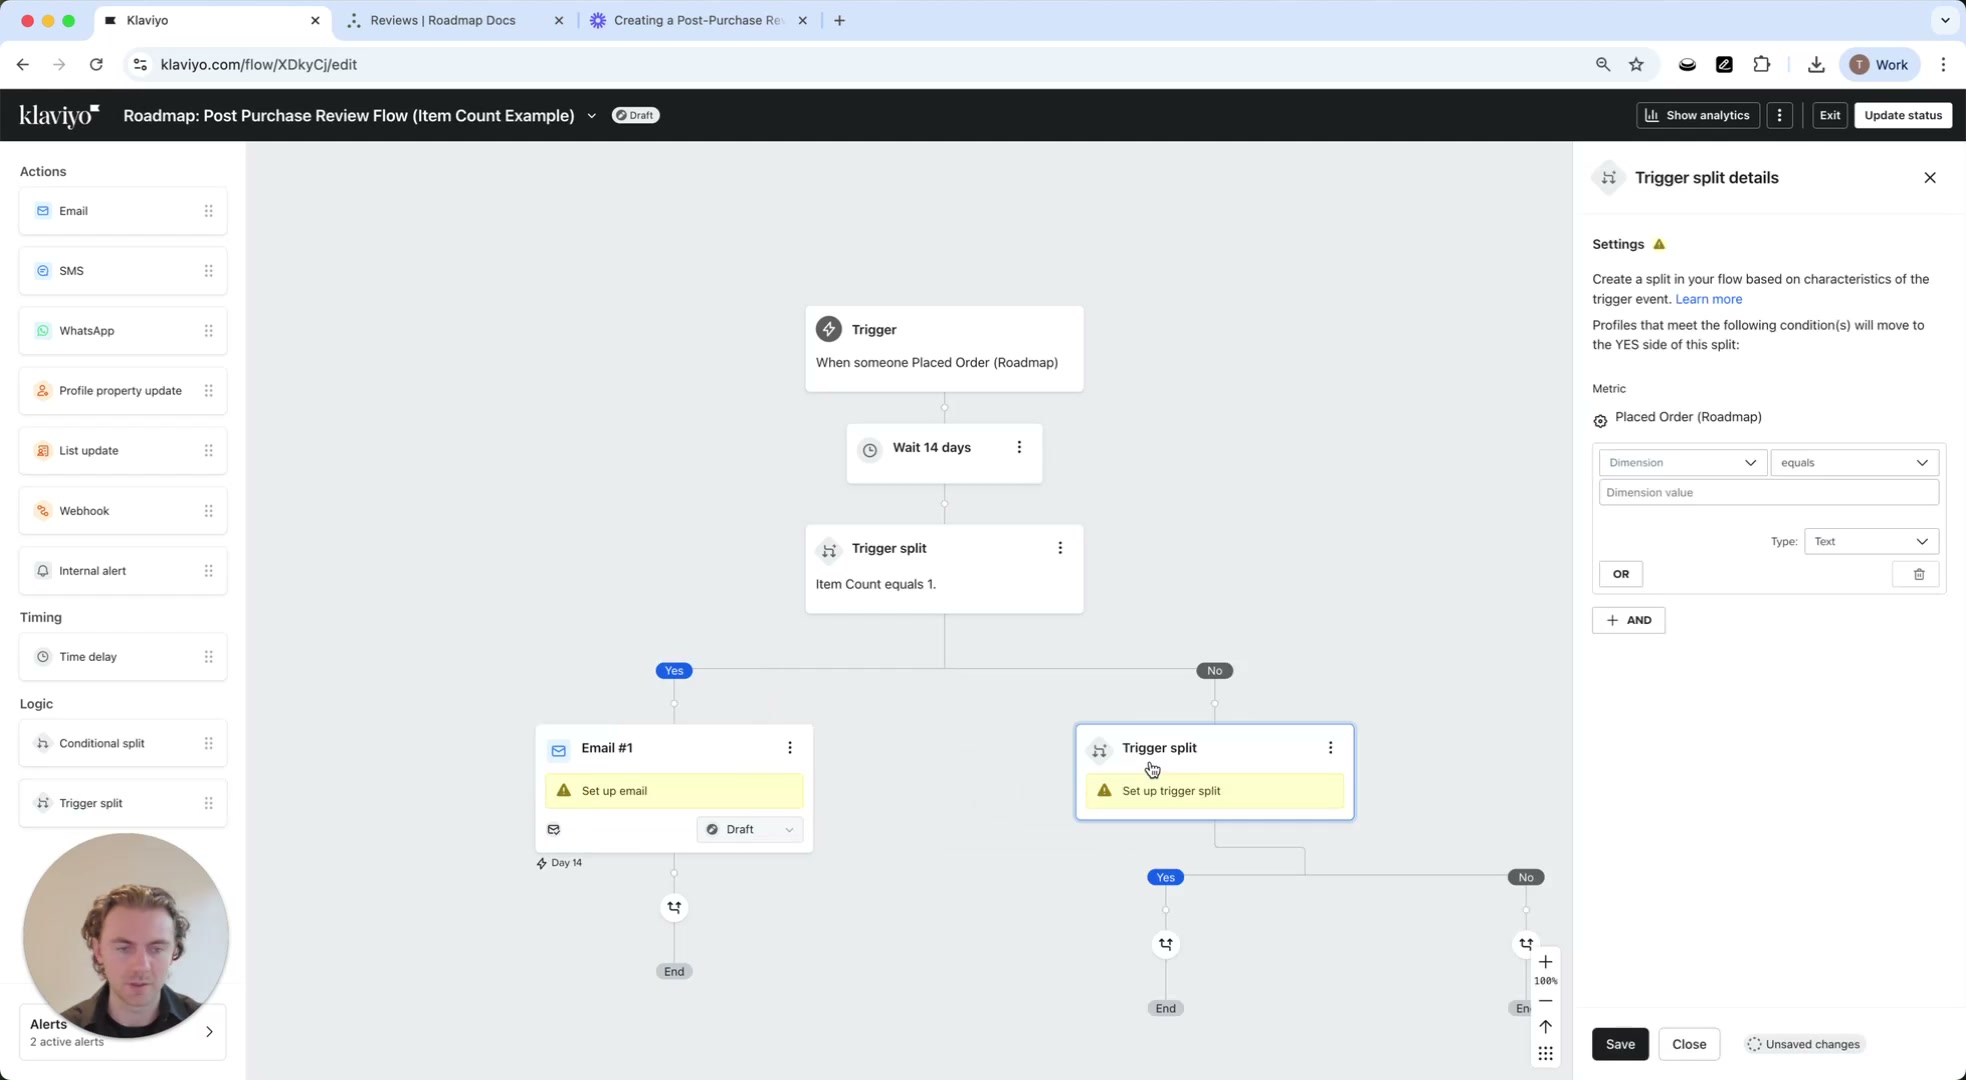
Split 1: Item Count equals 1
From the left sidebar, under Logic, drag Trigger split
In Trigger split details:
Set Metric to your order event (e.g., Placed Order).
Choose Dimension = Item Count.
Set the operator to equals and set the value to 1.
Add Email #1 on the YES branch
On the Yes path (Item Count = 1), add an Email action. This message can be short and focused on reviewing the single item.
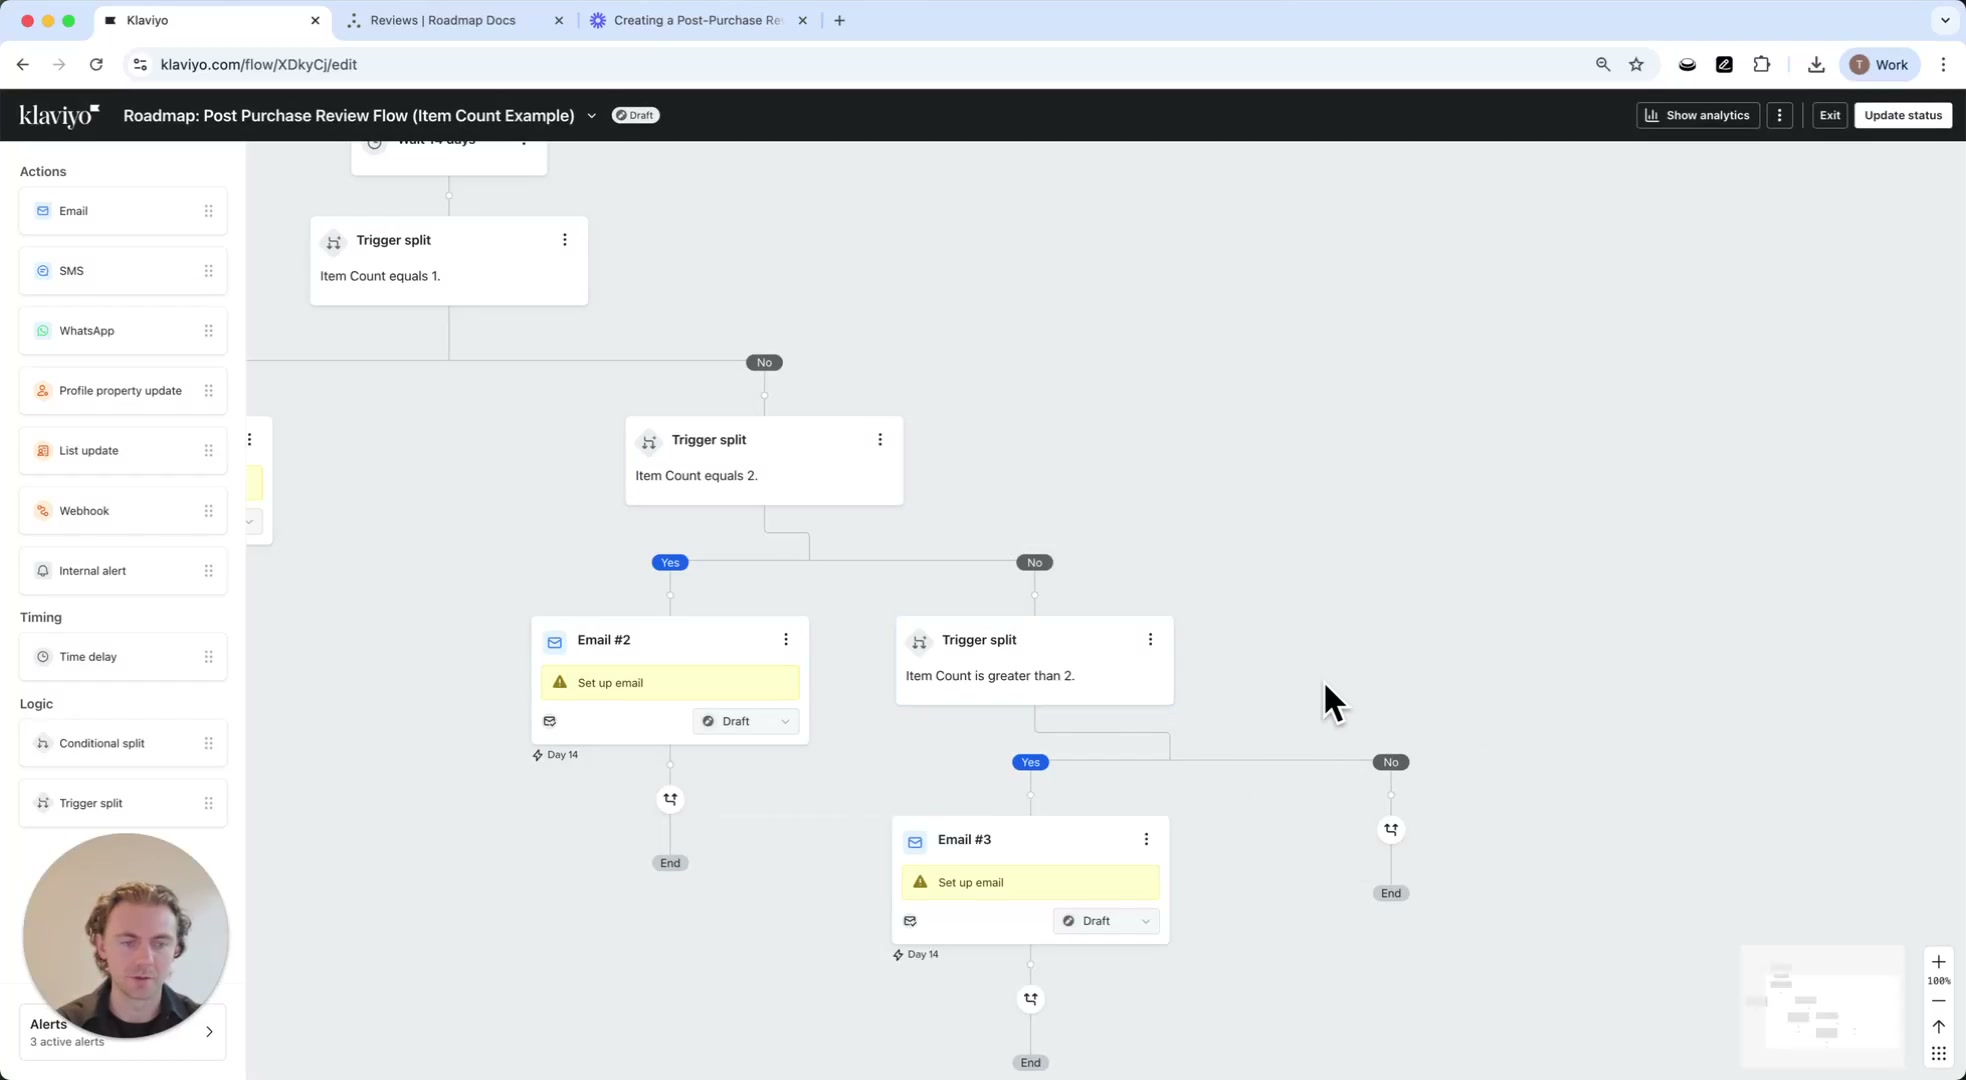
Split 2: Item Count equals 2 (on the NO branch)
On the first split’s No branch, add another Trigger split
Dimension = Item Count
Operator = equals
Value = 2
Then add Email #2 on the Yes path (Item Count = 2).
Split 3: Item Count is greater than 2 (3+ items)
On the second split’s No branch, add one more Trigger split
Dimension = Item Count
Operator = is greater than
Value = 2
Add Email #3 on the Yes path. With this setup, customers with 3 or more items receive the final email, and no one should end up in the last No branch.
If you later extend this with reminder emails, add conditions so customers who already left a review don’t keep receiving reminders.
5) Design each email (use a template as the base)
Open each email action (Email #1, Email #2, Email #3) and start from a pre-designed template. This keeps formatting consistent while allowing you to tailor the content to the item count.
Click an Email card in the flow canvas, then choose to edit the content in the email editor.
Choose your template, then customize the copy so the email matches the branch (1 item vs 2 items vs 3+ items). Save your changes before returning to the flow.
The walkthrough’s next step is adding dynamic content to these templates (covered in a separate tutorial). This page focuses on building the flow structure and branching logic.
Result
Everyone who meets the Placed Order trigger conditions enters the flow.
After the Time delay, customers are routed into a branch based on Item Count.
Each branch sends a simpler, easier-to-design email without relying on complex dynamic tables.