

Setting up a Klaviyo post-purchase review flow (Dynamic table styled email)
Walkthrough video
What you’ll build
- Trigger:
Placed Order (Roadmap) - Timing:
Time delayset to14 days - Action:
Email(single message)
Create the flow
In Klaviyo, go to Flows in the left navigation, then open the Create Flow page.
On Create Flow, select Build your own to create a flow manually.
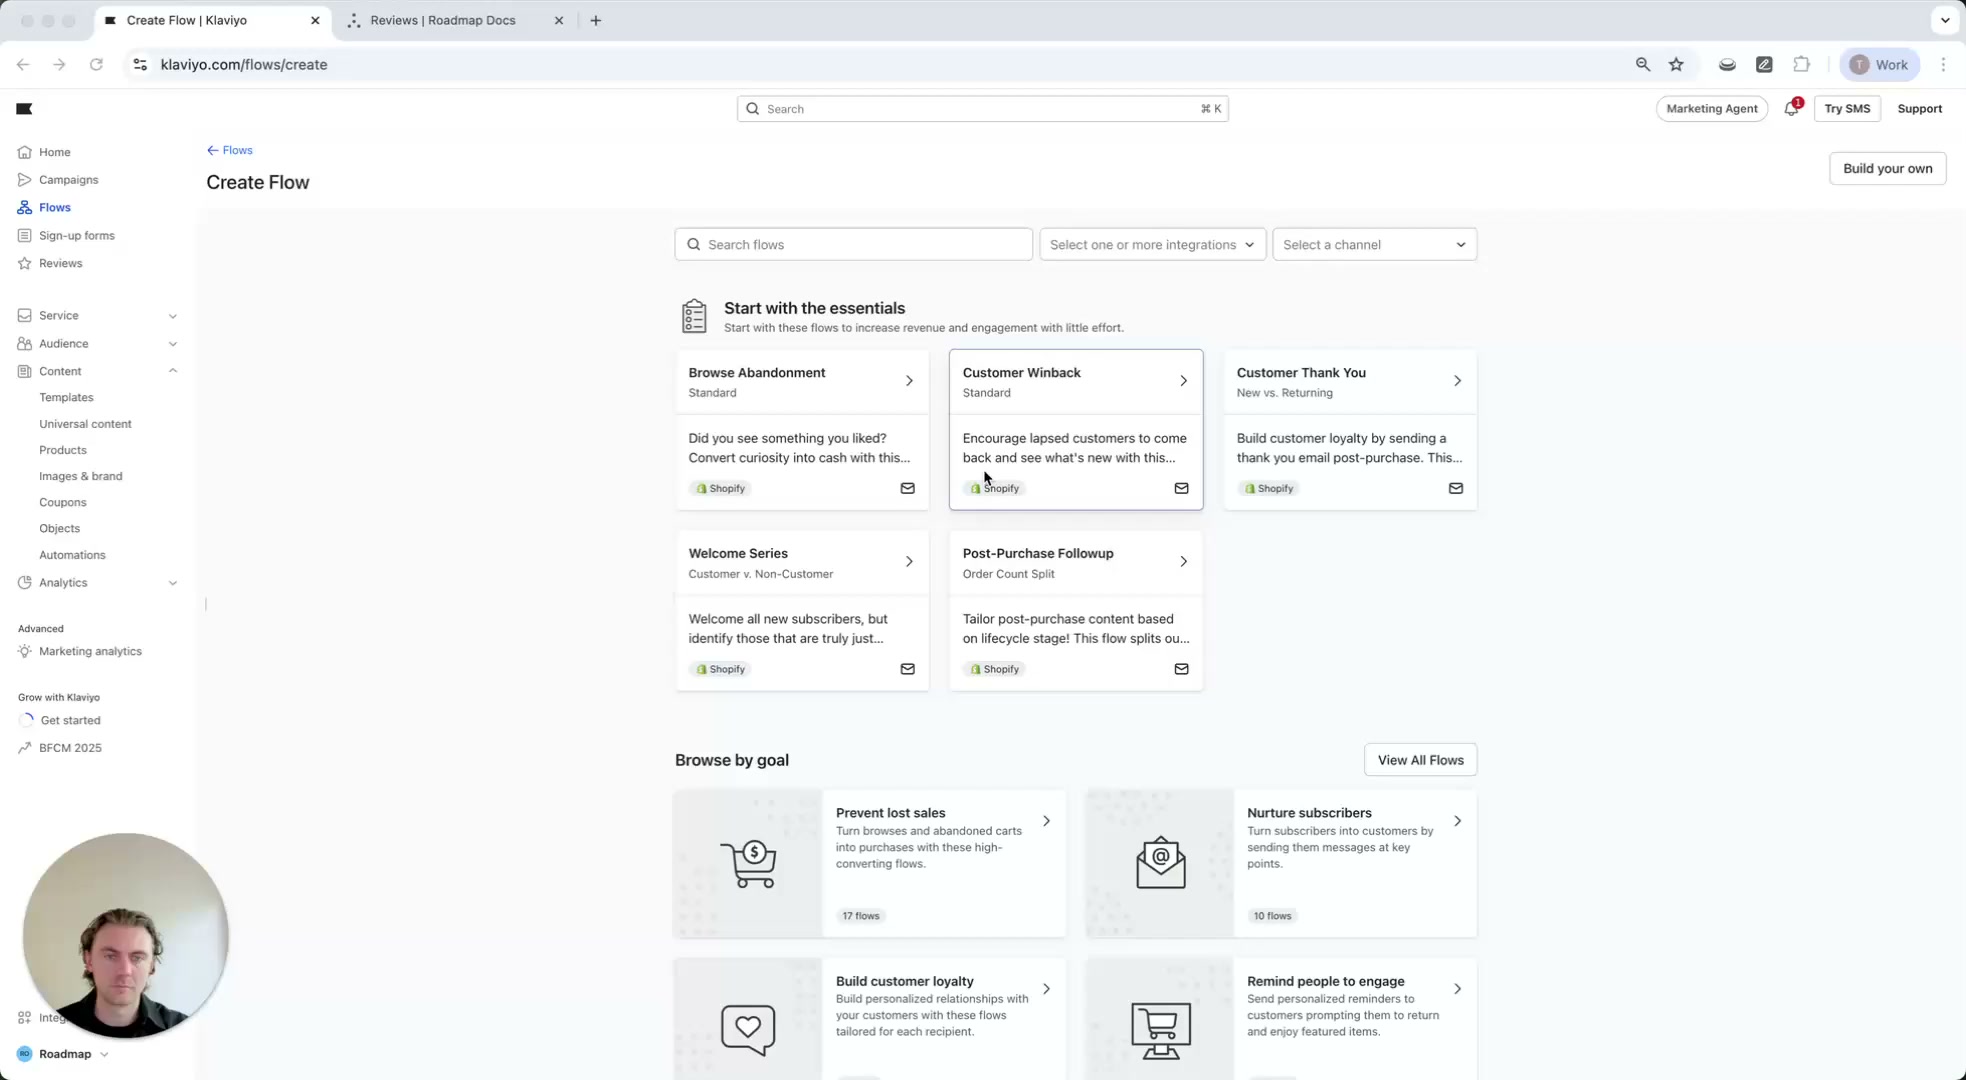
Name the flow (example from the walkthrough: Post Purchase Review Flow (Single Email Example)).
In the flow builder, click the Trigger card (it shows Select a trigger).
On the right, in Select a trigger, open the Your metrics tab (if shown) and choose Placed order under Your store.
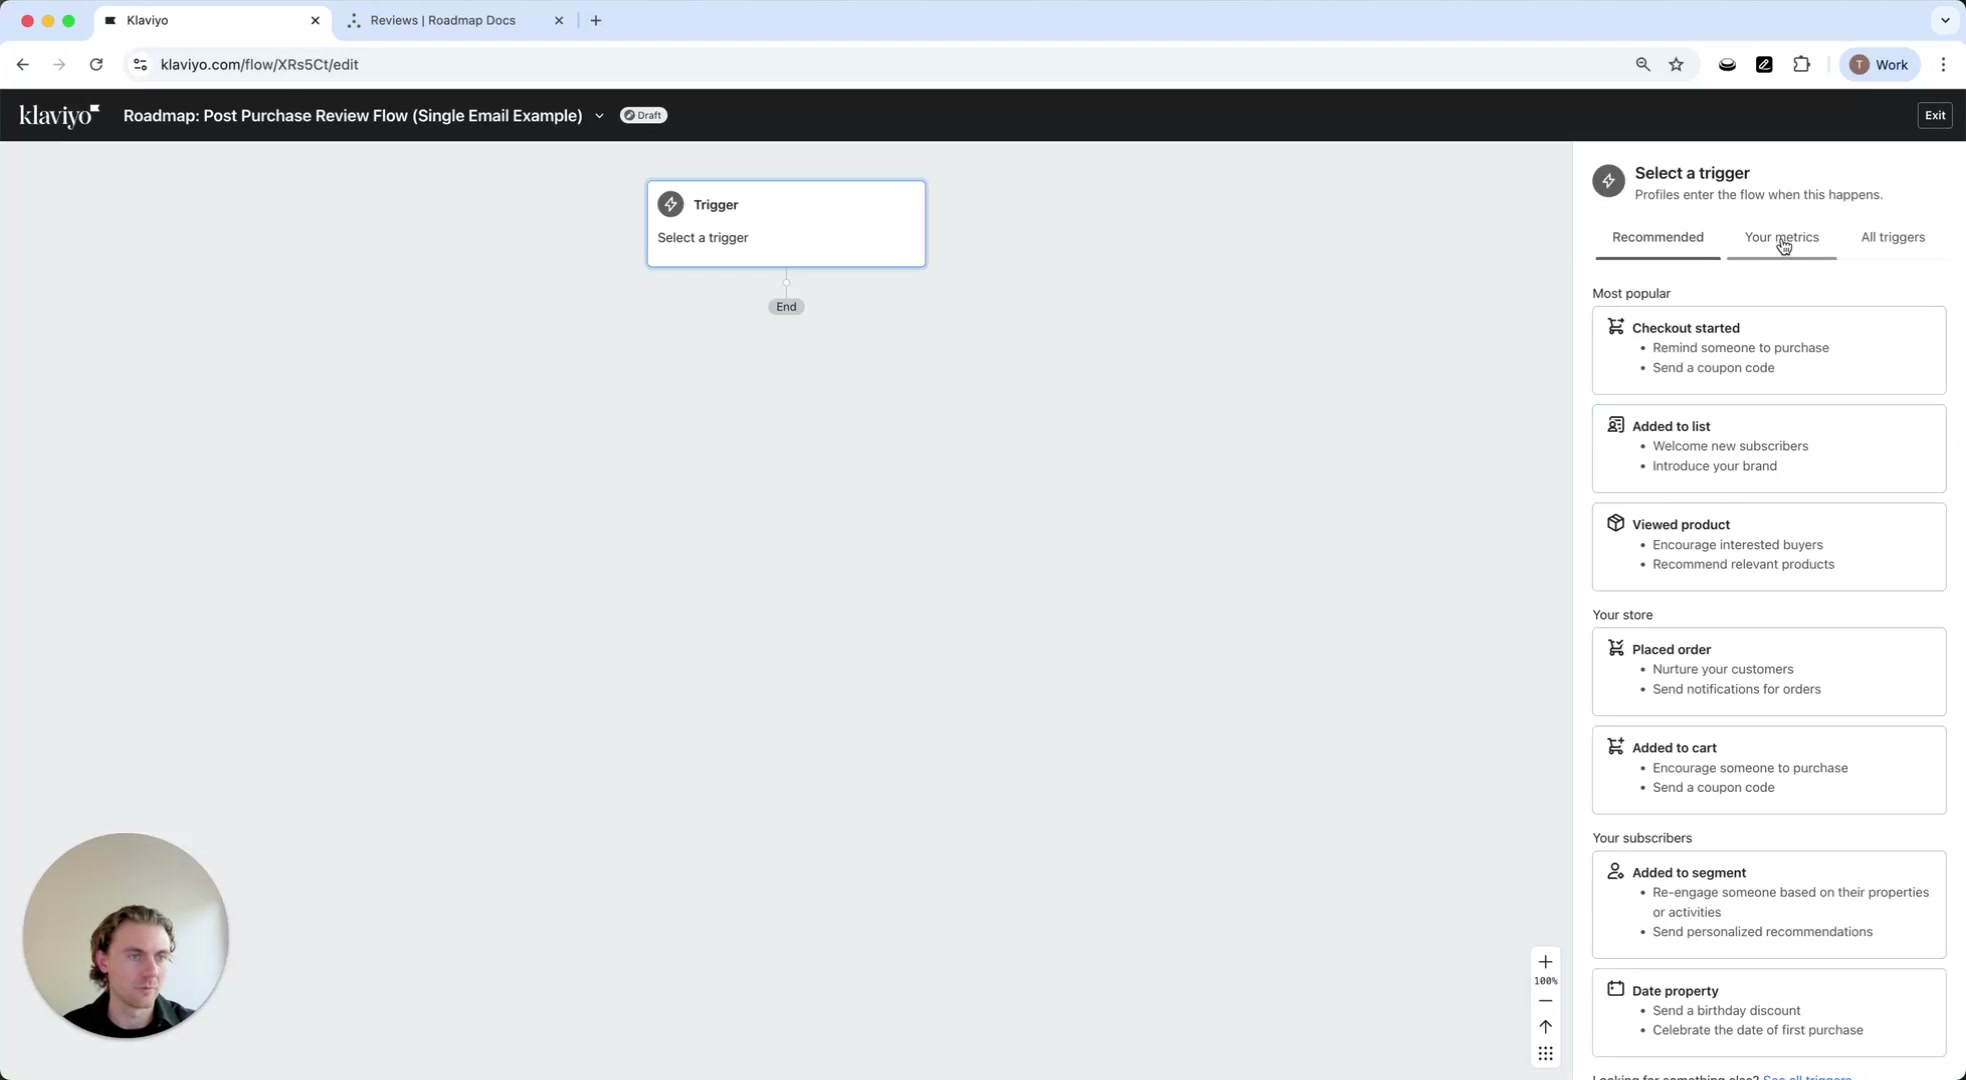
The walkthrough uses Placed Order (Roadmap) (shown in the confirmation step) rather than the Shopify trigger. This is because the Roadmap metric is designed to include specific profile/event properties used in the email and for review verification.
When the confirmation dialog appears (Confirm your trigger selection), review the trigger selection (it should show Placed Order (Roadmap)), then click Confirm and save.

Back on the canvas, the trigger card updates to When someone Placed Order (Roadmap).

Add timing: wait before asking for a review
From the left sidebar, under Timing, drag Time delay onto the canvas below the trigger.
Click the new Time delay step to open the settings panel (Time delay details).
In Time delay details, under Settings, set Set time delay to 14 and choose Days.
Click Save (bottom right) to apply the delay.
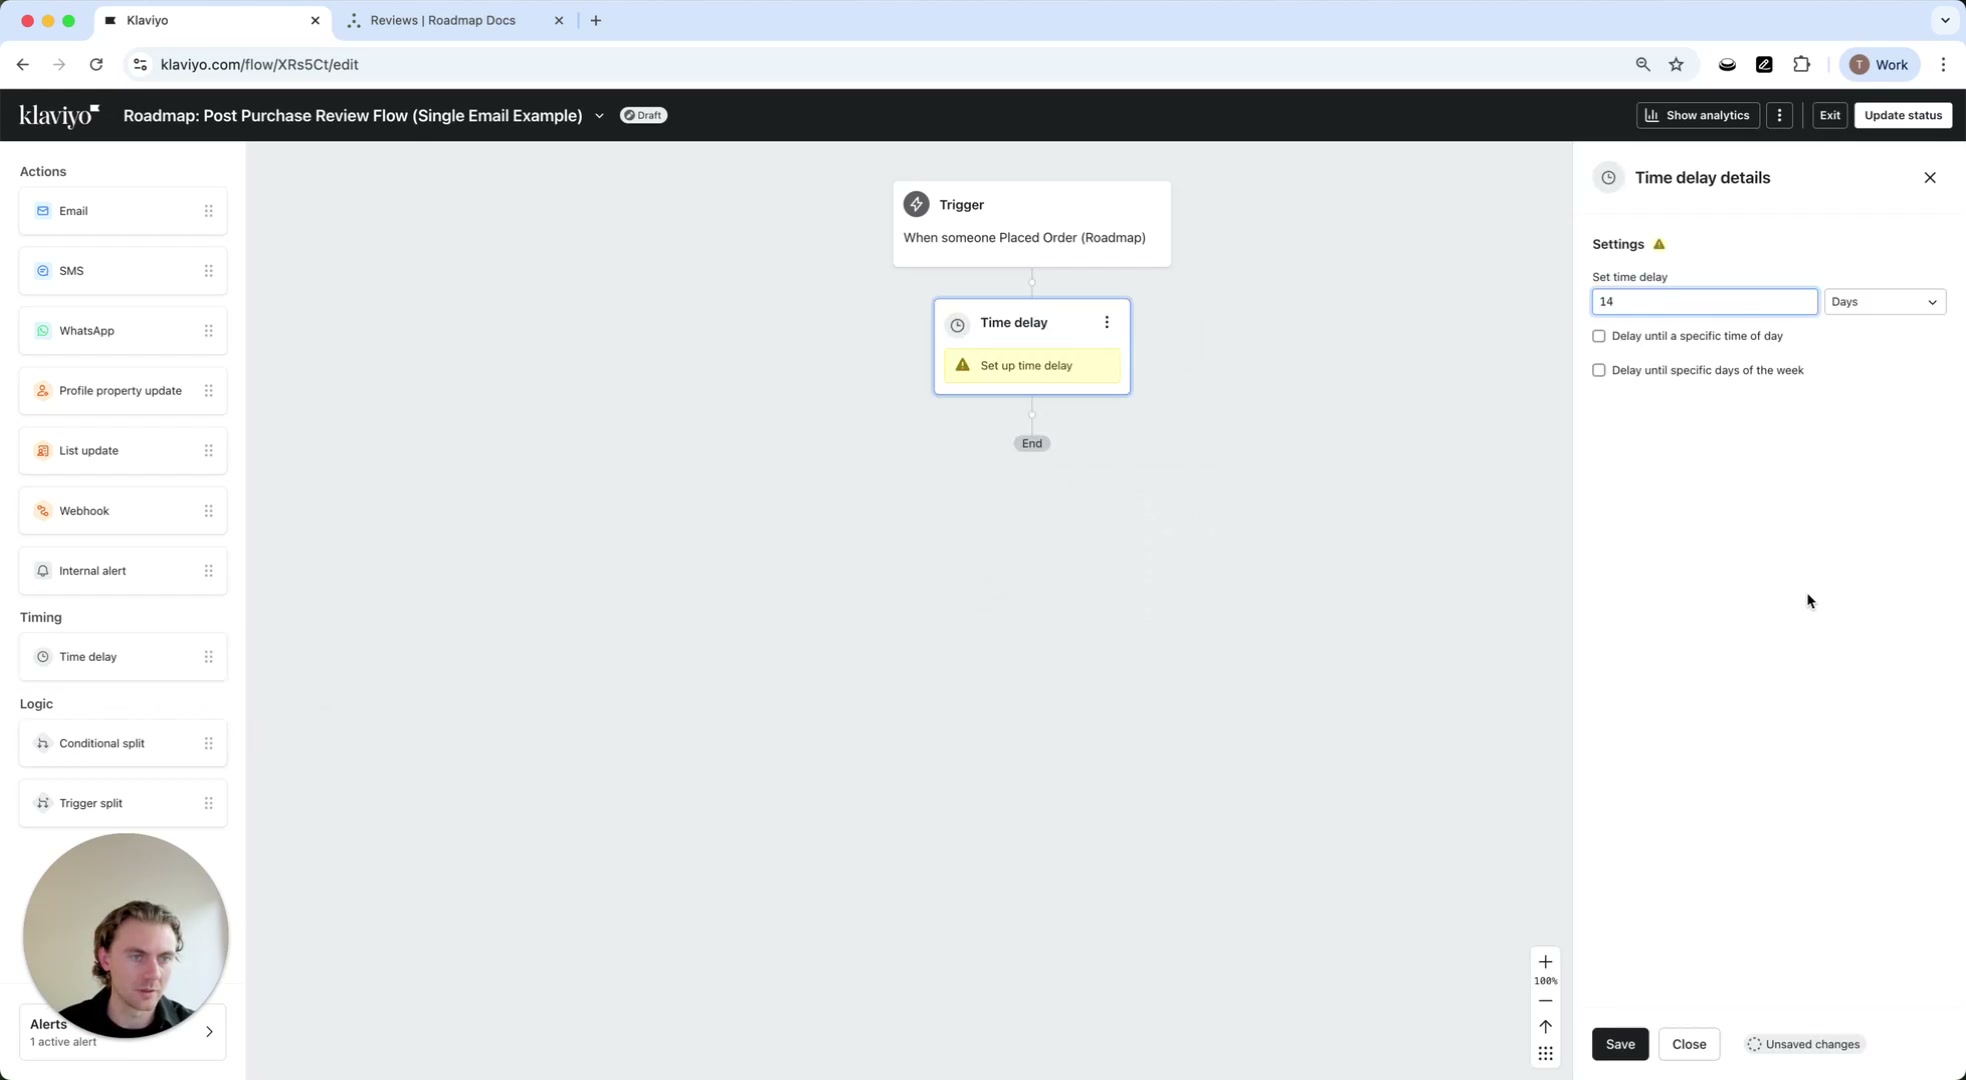
Why 14 days? This is a common timing choice because it gives customers time to receive the product and form an opinion before you ask for a review.
Add the email
From the left sidebar, under Actions, drag Email onto the canvas below the Wait 14 days step.

Configure the email content as your review request message.
Optional (from the walkthrough): filters and splits
After the trigger is set, you can narrow who enters the flow using the trigger setup panel:
- Trigger filters: limit the trigger to only certain events.
- Profile filters: limit the flow to only certain profiles.
Example use case mentioned in the walkthrough: exclude B2B customers if you don’t want to capture reviews from that audience.
If you need to branch the experience, the left sidebar under Logic includes:
- Conditional split
- Trigger split
Use these only when you have a clear reason to send different messages to different customers.
Design note: dynamic table for multi-item orders
The walkthrough mentions using a dynamic table in the email. This pattern is useful when customers can purchase more than one product in an order, so the email can list each item and prompt a review per product.